# [實作篇]WebRTC APIs - RTCPeerConnection 實作 P2P
# 學習目標
- 了解 peer-to-peer 串流機制
- 如何使用 RTCPeerConnection 在單一頁面上實作 P2P 機制
因為概念資訊越來越多,我習慣先實作個簡單應用來當作入門~ (畢竟身為前端有看到畫面還是舒服一點XDD
# RTCPeerConnection 介紹
The RTCPeerConnection interface represents a WebRTC connection between the local computer and a remote peer. It provides methods to connect to a remote peer, maintain and monitor the connection, and close the connection once it's no longer needed. 擷取自MDN
透過上述簡介,大致能了解RTCPeerConnection在 WebRTC 中扮演的角色是專門負責連線的建立、資料加密與頻寬管理等處理。
列舉幾項在端點連線上主要功用:
- Signal processing:信號處理以消除音頻和視頻中的噪聲
- Codec handling : 影音編碼器的支援
- Peer to peer communication:點對點的溝通
- Security:對傳遞資訊的加密
- Bandwidth management:對使用網路頻寬的控制
# 實作
本次實作個簡易串流機制,並且功能會先實作在同一頁面,及搭配getUserMedia擷取本地端多媒體來模擬本地端與遠端間的媒體傳輸。
主要目的是藉由動手實作,來了解整個 P2P 連線的搭建過程及機制~
先附上完整程式
# Index.html
<!-- index.html -->
<!-- ... -->
<section>
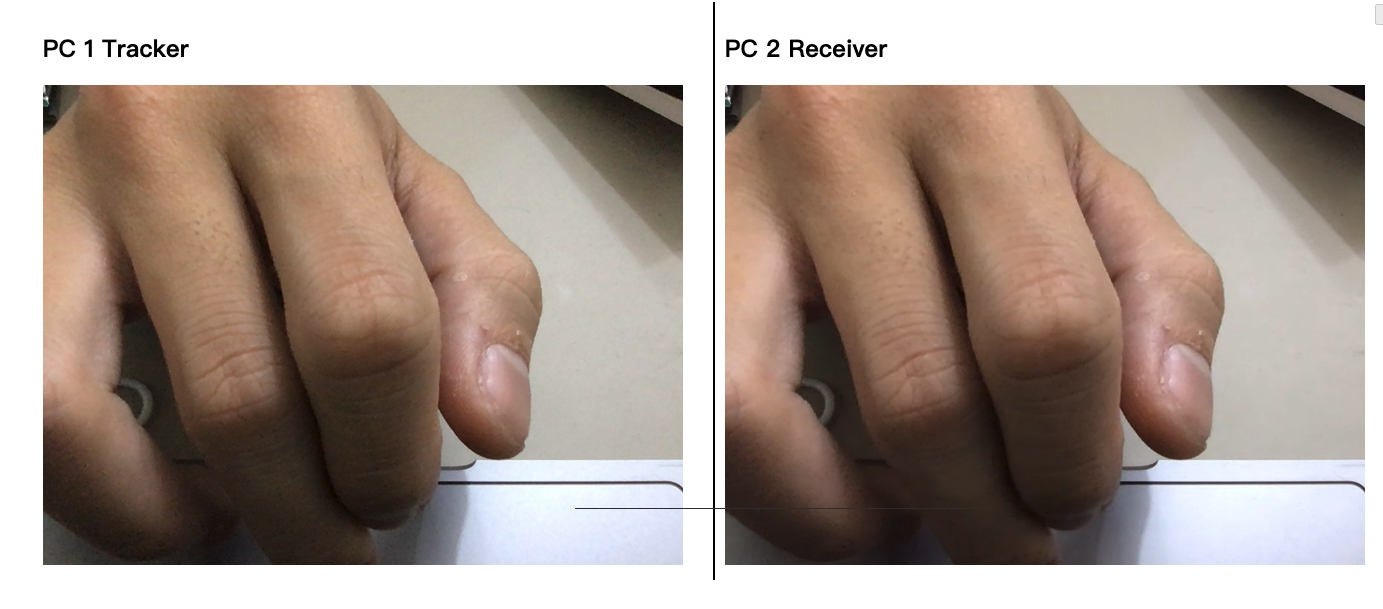
<h1>PC 1 Tracker</h1>
<video id="localVideo" autoplay muted></video>
</section>
<section>
<h1>PC 2 Receiver</h1>
<video id="remoteVideo" autoplay></video>
</section>
<div class="box">
<button id="startButton">Start</button>
<button id="callButton">Call</button>
<button id="hangupButton">Hang Up</button>
</div>
<!-- ... -->
引入 JS
<script src="https://webrtc.github.io/adapter/adapter-latest.js"></script>
<script src="./js/main.js" async></script>
index.html 全貌大致上會如下
<!DOCTYPE html>
<html>
  <head>
    <title>RTCPeerConnection 範例</title>
  </head>

  <body>
    <h1>RTCPeerConnection 範例</h1>
    <div id="container">
      <section>
        <h1>PC 1 Tracker</h1>
        <video id="localVideo" autoplay muted></video>
      </section>
      <section>
        <h1>PC 2 Receiver</h1>
        <video id="remoteVideo" autoplay></video>
      </section>

      <div class="box">
        <button id="startButton">Start</button>
        <button id="callButton">Call</button>
        <button id="hangupButton">Hang Up</button>
      </div>
    </div>

    <script src="https://webrtc.github.io/adapter/adapter-latest.js"></script>
    <script src="./js/main.js" async></script>
  </body>
</html>
# P2P 核心功能 - RTCPeerConnection APIs
實作同一頁面上模擬本機端(localPeer)及遠端(remotePeer)間的簡易串流範例。
重點: 在實作上主要有幾個大方向:
在各個 endpoint 建立
RTCPeerConnection的初始化,並透過getUserMedia擷取本地端的多媒體串流。取得與共享網路資訊:當雙方要建立 peer-to-peer 連線時,就會先依循 ICE framework 進行 IP 位址與連接埠查找的流程,來找到一個可用且最好的 candidate 來使用。
取得與交換多媒體資訊:使用 Session Description Protocol(SDP)協定的
offer與answer來交換多媒體相關的資訊(例如解析度與 codec 等)
依照以上幾點,一步一步來試著建立簡易 p2p 串流:
建立 RTCPeerConnection object,並綁定
onicecandidate事件,當查找到相對應的遠端端口時會做onIceCandidatecallback function 進行網路資訊的共享:let localPeer; let remotePeer; // 初始化過程與 localPeer 相同const configuration = {}; localPeer = new RTCPeerConnection(configuration); localPeer.onicecandidate = (e) => onIceCandidate(localPeer, e); localPeer.oniceconnectionstatechange = (e) => onIceStateChange(localPeer, e); }localPeer 藉由
getUserMedia擷取並透過(addTrack)載入多媒體資訊(ex: videoTrack, audioTrack ...):let localStream; async function start() { // ...省略 try { const stream = await navigator.mediaDevices.getUserMedia({ audio: false, video: true, }); localVideo.srcObject = stream; localStream = stream; // ...省略 } catch (e) { alert(`getUserMedia() error: ${e.name}`); } }localStream.getTracks().forEach((track) => localPeer.addTrack(track, localStream));remotePeer 初始化同上,另外能藉由綁定
ontrack來接收另一端傳遞過來的多媒體資訊(videoTrack ...等),這邊用 remotePeer 做演示:remotePeer.ontrack = (e) => { if (remoteVideo.srcObject !== e.streams[0]) { remoteVideo.srcObject = e.streams[0]; } });當 remotePeer 藉由 Signaling channel 接收到由 localPeer 傳來的 ICE candidate 時,利用
addIceCandidate將其丟給瀏覽器解析與匹配,看看這個ICE candidate 所提供的連線方式適不適合。async function onIceCandidate(event) { try { await remotePeer.addIceCandidate(event.candidate); // ... handle success } catch (e) { // ... catch error } }端點間要互相傳遞多媒體資源時必須依照SDP訂定的格式,並透過 Offer/Answer 的交換模式進行。
localPeer 用 RTCPeerConnection
createOffer()method 來產出RTCSessionDescription: 也就是屬於 localPeer 的 session description。const offer = await localPeer.createOffer(offerOptions);建立成功後,透過
setLocalDescription將 offer 設為本身的 local description,並將其透過 Signaling channel 傳遞給 remotePeers。remotePeer 接收到後,透過
setRemoteDescription將 localPeer 的 session description 設為自身的 remote description。相對的 remotePeer 也必須用
createAnswermethod 產出 SDP 來回應 offer,步驟跟 createOffer 一樣,產出的 SDP 也要設為自身的 local description 並傳遞給 localPeerlocalPeer 收到後同樣透過
setRemoteDescription將其設為自身的 remote description,如此即完成連線得作業項目,因此網路與多媒體的資訊交換可以同時進行。// ... try { await localPeer.setLocalDescription(offer); await remotePeer.setRemoteDescription(offer); const answer = await remotePeer.createAnswer(); await remotePeer.setLocalDescription(answer); await localPeer.setRemoteDescription(answer); } catch (e) { // ... catch error }
Done !
# Try it
試試看吧~
# 總結
本章節了解到:
- peer-to-peer connection 基本流程是如何運作
- 如何使用 RTCPeerConnection 來達成串流多媒體
有看到畫面,至少有點實感~ 在這邊可能會懞懞懂懂的,後面會開始一一講解各個 API 功用及相關概念~